Prerequisites
You need Node.js 18+. That’s it.
macOS
brew install nodeThe setup wizard installs everything else it needs (tmux, lsof, gh) once Aigon is on your PATH.
Install Aigon
macOS
npm install -g @senlabsai/aigon@next
aigon setupThe wizard walks you through agent install, terminal preference, and dashboard start — see Setup wizard for the eight steps.
Add Aigon to your project
cd /path/to/your/project
aigon apply
aigon install-agent cc gg          # Claude Code + Gemini
Agent codes — install whichever you have access to: cc Claude Code · gg Gemini CLI · cx Codex CLI · cu Cursor · op OpenCode · km Kimi Code CLI · am Amp. Inside any of them, invoke Aigon commands as /aigon:feature-do 07 (or aigon-feature-do for Codex).
Install Aigon Pro (optional)
Beta access only. Pro adds autonomous mode, agent failover, scheduled & recurring features, and encrypted spec backups.
npm install -g @senlabsai/aigon-pro
aigon pro activate <your-key>
aigon server restart
See Installing Aigon Pro for the full guide.
Start using Aigon
Go to http://localhost:4100 — the wizard started the server during install. The Pipeline view shows your features across kanban lanes.
New to Aigon? Walk through the Brewboard tutorial first — it’s a small Next.js seed repo with six pre-written feature specs ready to run. The tutorial gets you cloning, applying Aigon, and watching the dashboard drive a real feature in ~10 minutes. The wizard may already have cloned it for you; the tutorial covers both cases.
Optional: named .localhost URLs
For clean subdomain URLs like http://aigon.localhost and http://cc-01.yourproject.localhost instead of localhost:4100, install Caddy and run aigon proxy install once:
brew install caddy      # macOS — see caddyserver.com/docs/install for Linux
aigon proxy install     # installs Caddy as a system daemon on port 80 (requires sudo)
Your first feature
Via the dashboard (recommended)
Make sure you’re on the Pipeline view, then pick your project (or Brewboard) from the left-hand sidebar. The kanban below shows that repo’s features spread across the six lanes.
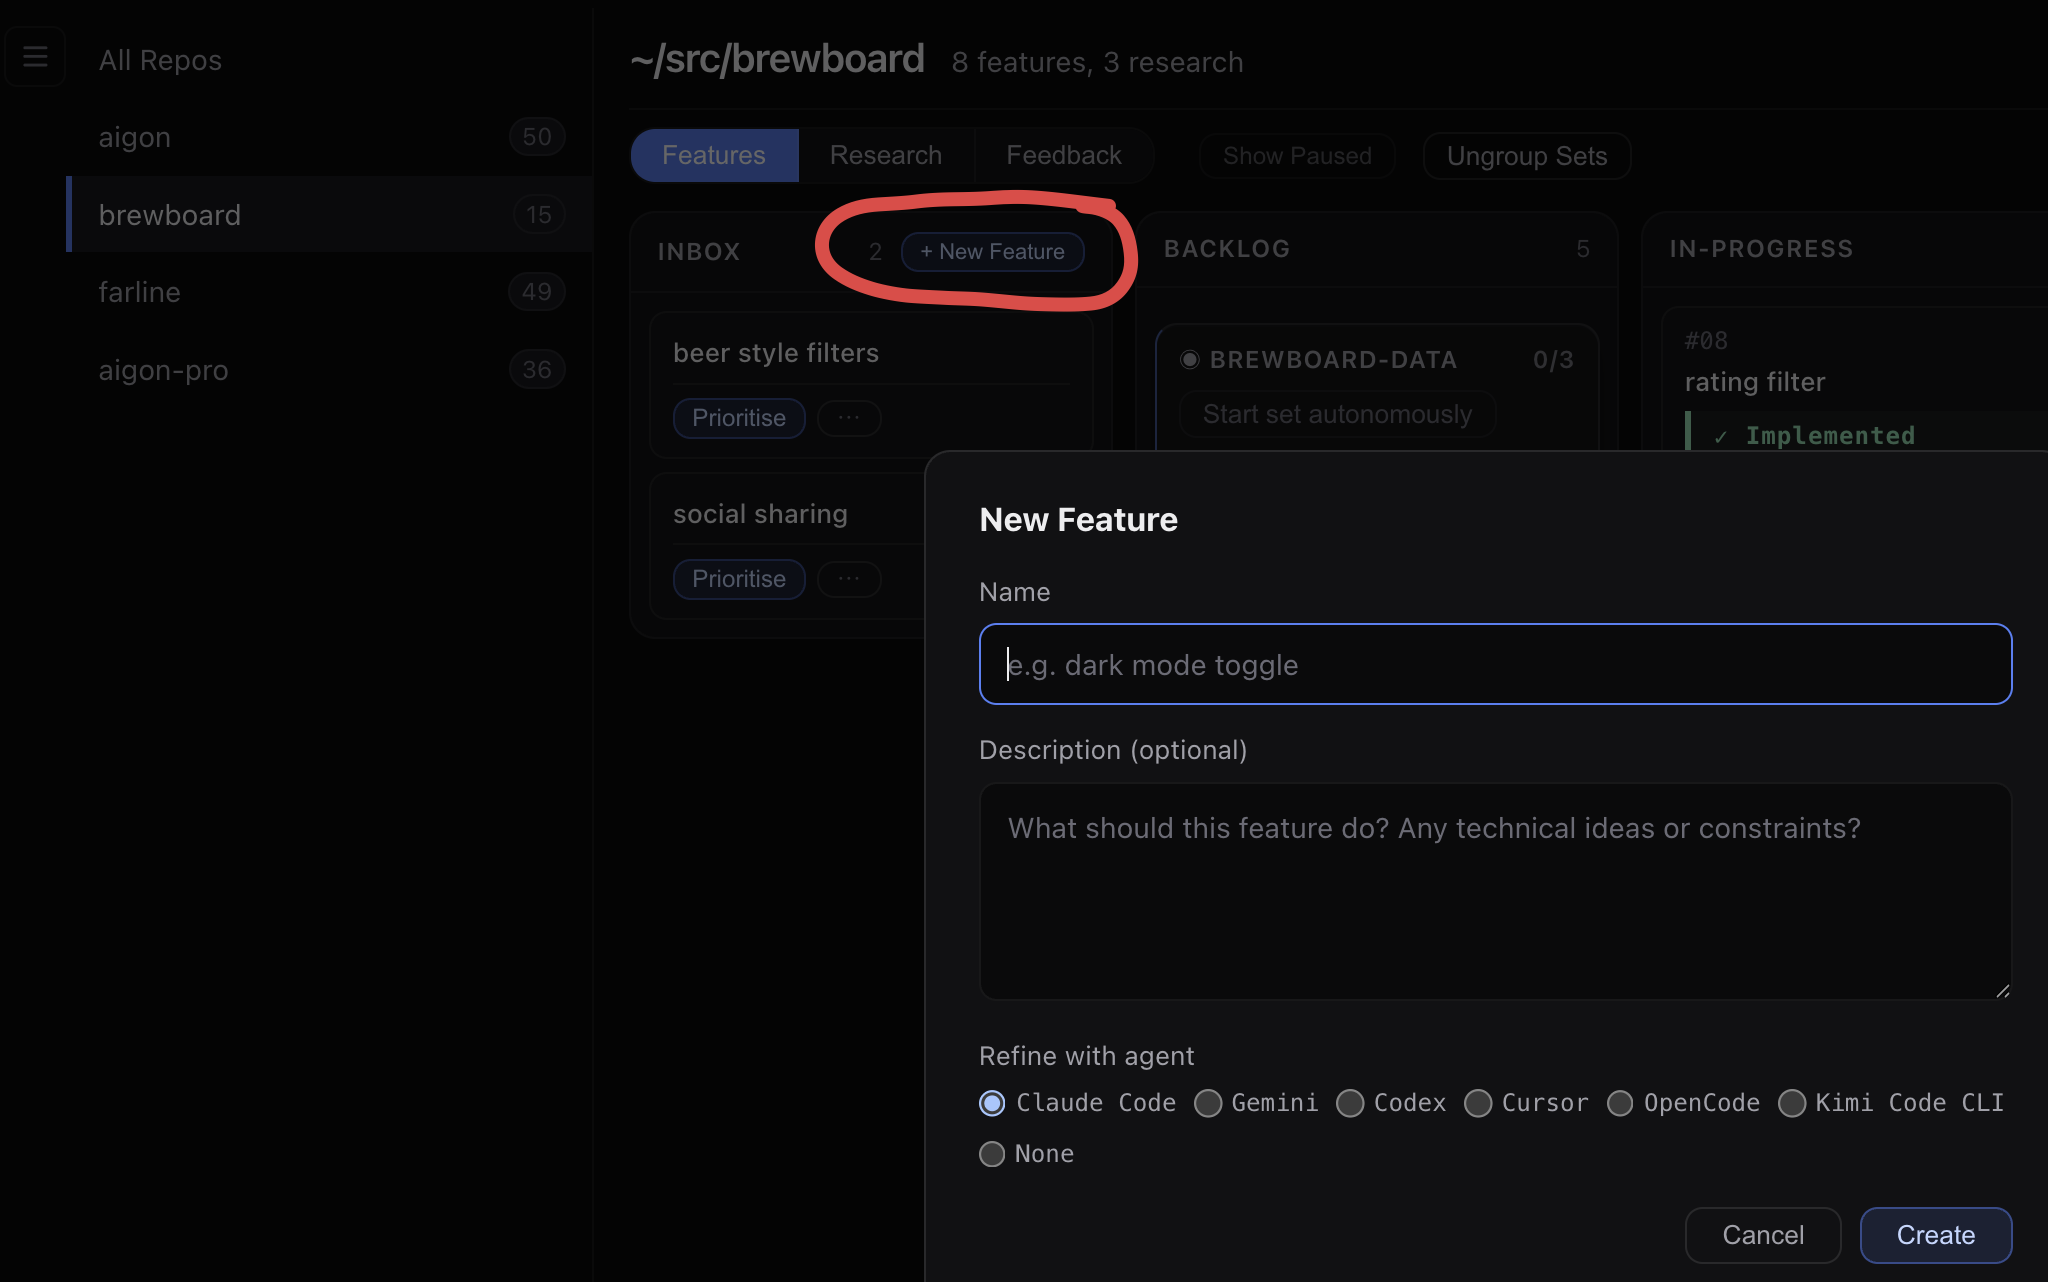
- New feature — click the + New feature button. Fill in a title and a short description, save. The card lands in Inbox.
- Prioritise — click Prioritise on the card. Gets an ID, moves to Backlog.
- Start — pick an agent and model in the modal. Aigon creates a worktree, launches the agent in a tmux session, moves to In Progress. Click the card to watch live.
- Code review (optional) — click Code Review for a pass by a different agent. Reviewer diversity catches blind spots a same-model reviewer misses.
- Close — runs gitleaks + semgrep gates, merges to main, runs tests, moves to Done.
Via an agent CLI
Inside Claude Code (or any installed agent), the fastest path is /aigon:feature-now:
/aigon:feature-now dark-mode
Add a dark mode toggle to the top-right header.
Default to system preference. Store choice in localStorage.
The agent creates a spec, assigns an ID, sets up the workspace, and starts implementing — all in one conversation.
For more control, use individual commands: feature-create → feature-prioritise → feature-start → feature-do → feature-code-review → feature-close.
Updating Aigon
npm update -g @senlabsai/aigon@next
aigon apply --all
Re-applies templates across every registered repo. See Applying Aigon updates for finer-grained control.
What’s next
- Drive Mode — hands-on implementation with one agent
- Fleet Mode — multiple agents competing in parallel against the same spec
- Autonomous Mode — hands-off long-running loops
- Research Workflow — answer open questions before turning them into features
- Feedback Workflow — triage user feedback into prioritised work
- Execution Modes — Drive, Fleet, Autopilot, and Swarm
Beta software. Aigon is early access — APIs and config formats may change between releases. File bugs at github.com/jayvee/aigon/issues .